
About SmartVault
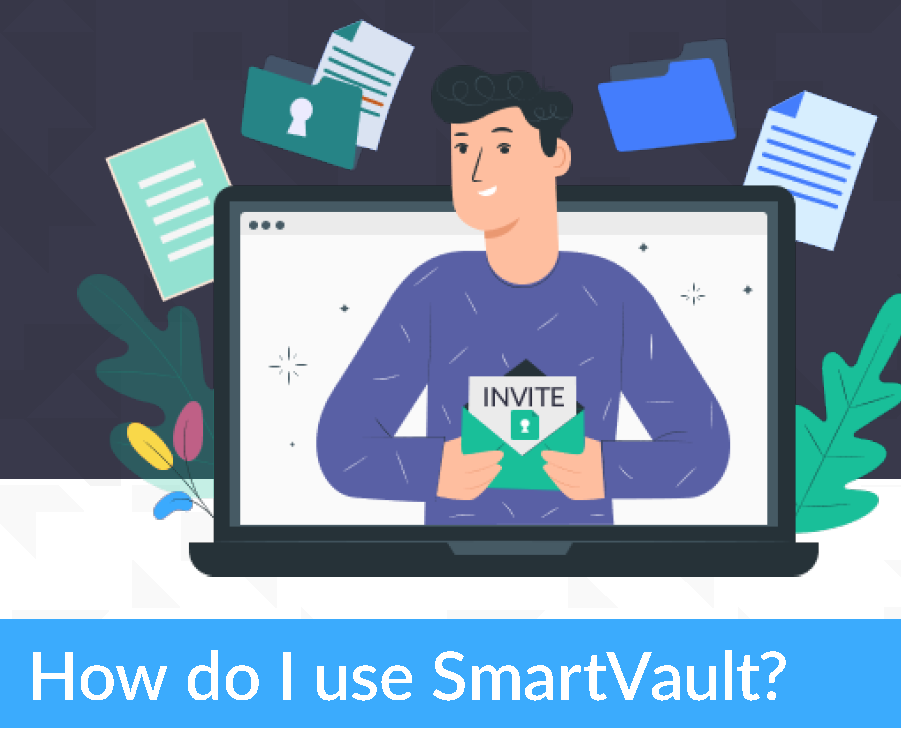
Welcome to SmartVault, the client portal for The Business Guides!
![]()
Log in to your SmartVault Client Portal
Check out this 3-minute video and see what you can do with SmartVault!
https://player.vimeo.com/video/493784146
Dive into using SmartVault during tax season with The Business Guides in this 23-minute video with timestamp links (see menu in description under video)
https://vimeo.com/805298667#t=11
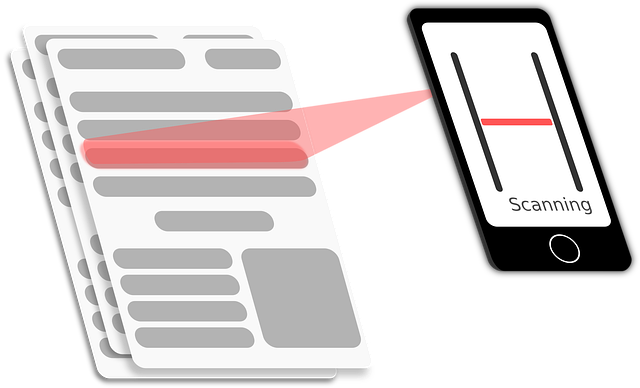 Got a mobile scanner app? It's as easy as taking a picture with your device's camera, but it stores the file as a PDF. Check out our suggested free apps.
Getting Started with SmartVault
We’ll add you to The Business Guides' SmartVault account as a guest and you’ll need to activate your user account to get started. With one user account, and within one online portal, you can access the vaults for your household and your business(es).
Note: We suggest adding notify@my.smartvault.com to your address contact book to increase the changes that your SmartVault invitation and other tax-time emails from The Business Guides are properly delivered to your email inbox. Here is more information on whitelisting SmartVault emails in popular email providers.
1. Activate Your Account. You’ll receive an emailed invitation to activate your account from an employee of The Business Guides via SmartVault. The subject line will be: Client Portal Invitation from The Business Guides (Sign up for SmartVault). We will send the invitation to the primary email address we have on file for your household or your business (in many cases, this will be the same email address, but not always). If you are a sole proprietor or retired business owner without a separate business entity, you will receive just one email invitation. For each separate business, you will receive a separate "Click to activate access" email for that business's vault. To be clear, you will only create one user account, no matter how many vaults you have access to.
Click the SmartVault "Activation Link" in the first "Invitation" email. Your email will prefill. Enter your phone number and create a password that contains AT LEAST ONE of these four elements: uppercase letter, lowercase letter, number and punctuation. (If you don't include all four elements, this may be the reason you cannot activate your account. Look for all green bars under your password for verification.)
The initial authentication code will be sent to your email, not your phone (but later you can set up two-factor verification via text to this phone number -- click here to learn more in the Security section below). Click "Create My User." Here is a step-by-step explanation with a screenshot.
2. Sign in to SmartVault. Go to my.smartvault.com or thebusinessguides.smartvault.com. Enter your email address and the password you created when you activated your account. Click "Sign In." (Note: If you forget your password, click "Can’t sign in?" and you’ll receive a password re-set email.) Here is a step-by-step explanation with a screenshot. To learn more about setting up Two-Factor Authentication to protect your SmartVault user account, click here to view the Security section below.
3. Download Documents. In your SmartVault account, navigate to the folder (most likely Client Organizer) containing the files you’d like to download. Click on a PDF to view it in your browser. Click "Download" if you’d like to download the document to your computer. To print a document, you must download it first. Click "Back" to close the preview window. Here is a step-by-step explanation with screenshots.
4. Upload Documents. Navigate to the folder (most likely Client Tax Data) where you would like to upload your files. Click the blue "Upload file" button. Drag & drop the document(s) into the window or browse for the file(s) on your computer. You can select multiple documents for uploading at one time. Click "Save," then close ("X" out) the successful upload notification box. The Business Guides will be automatically be notified that you’ve added a document to your folder. Here is a step-by-step explanation with screenshots.
Folder Tree
In your SmartVault Portal, you'll see any vaults you have access to, typically your household and your business(es) (if a separate entity like a Partnership or S-Corp), plus a "Public Documents - Helpful Resources" vault containing general helpful information for all our clients. Click "View Files and Folders" in the left-hand navigation menu to view all your vaults.
Within each vault, there will be folders for the tax years. The current relevant folder is "TY24" for Tax Year 2024. Within that folder, you will see these three folders:
❖ Client Organizer - For all clients, this folder holds your 2024 Cover & Engagement Letter with pricing and due dates. Household folders include a PDF of your household's personalized Tax Organizer, which you may wish to use in organizing your tax data for submission (learn more in the Tax Organizers section below).
❖ Client Tax Data - Holds all the source documents you will upload, or have uploaded.
❖ Client Tax Returns - Holds your copy of your tax return. This is first a draft for your review, then we replace it with the final, filed version.
Adding Shortcuts to your Upload Folders
One of SmartVault's most useful features is the Shortcuts bar—located at the top of your screen when you're logged into your portal—for adding shortcuts to your favorite folders. We recommend doing this for your upload folders for your household and your business(es).
Simply click "+ Add shortcuts" and navigate through the folder tree to select one of your Client Tax Data folders. Then rename it, something like "ABC Co. Tax Data" or "Household Dox" vs. "Business Dox." This will avoid tax data for one entity going into the other's folder. Here is a step-by-step explanation with screenshots on how to set up Shortcuts.
Tax Organizers
You can download and print out your personalized tax organizer with prior-year numbers, complete it, and scan it back to SmartVault, along with your electronic tax documents. Alternatively, you can print your organizer and return it and your paper tax forms in one envelope to our office. Please choose one method for submission: all electronic or all paper.
If you don't have a printer or desktop scanner, you can still submit everything electronically, using our fillable PDF forms, our online Individual Questionnaire, and a mobile scanner app to upload PDFs of your tax documents.
Use the organizer as a guide for collecting your tax documents, marshaling your Schedule C, E or F expenses, and alerting us to any changes in your listed address, dependents, etc. It is not required that you submit the organizer, but you are welcome to do so.
Note: If you have a sole proprietorship or a rental, we ask that you provide a typed spreadsheet or summary of income and expenses, or fill out the organizer pages for your Schedule C, E or F. Neatly handwritten numbers are fine, or you can find fillable PDFs of these Schedules in SmartVault's "Public Documents" folder.
Mobile Use of SmartVault
You can open SmartVault in your Apple or Android browser (Chrome is the recommended browser). Then you can scan your documents using a scanner app, and browse your mobile device for existing documents to upload.
Note: The "File Exchange" view is truncated and can be confusing in the mobile interface, since you can't always tell which tax year you're looking at. We recommend navigating to your upload folders via "View Files and Folders" instead, and/or creating a "Shortcut" to your most-used folders and renaming them uniquely (here's how).
Security
SmartVault is built with a security-first mindset. Learn more.
Here are some simple security steps that every SmartVault user should employ:
❖ Protect your session by signing out of the service when not in use.
❖ Use good password practices, such as:
- Using a strong password (lowercase, uppercase, numbers, symbols, etc.).
- Changing your password every 90 days.
- Not using the same password you use at other sites or other computers.
- Not sharing your password with anyone, including employees of SmartVault or The Business Guides.
We strongly suggest you enable Two-Factor Authentication on your SmartVault user account. Then if someone attempts to sign in to your SmartVault Portal from an unrecognized device or web browser, SmartVault will send you a verification code. The email address you use to log in to SmartVault is the default verification method. But you can change it to text/SMS or an automated call. (Ensure your phone number is present and verified in My Info in settings.) View the Two-Factor Authentication set-up instructions.
Frequently Asked Questions
Q: I have a separate business entity, but I can't find my second activation email. I only see one email from an employee of The Business Guides via notify@my.smartvault.com.
A: If you're seeing one email, but not the other, it's possible that gmail stacked them so they look like one email. You have to open the first one and then scroll down to see the second. And you must click the links in each email to activate your two vaults (one for your household and one for your business entity).
Q: How can my spouse, business partner, or bookkeeper view or upload to my tax portal?
A: The ability to have multiple log-ins to one vault is a big benefit of SmartVault. You can request that we provide access to someone else at the vault level. Provide their email address and let us know if they should have access to your household vault, the business vault, or both. We will send them an invitation to create their own SmartVault user account. To protect your security, we will verify any request to add an email address that is not already in our records by speaking with you personally.
Q: How do I let you know I'm DONE uploading to SmartVault and my tax data is ready for review?
A: Good question! We don't know you're DONE until you let us know. Here's how: When you have uploaded all the data we need to prepare your business or personal tax return, submit a DONE Notification form for each tax return we prepare for you. Ideally this is done for all returns at once, but you may stagger your DONEs. You must tell us you are DONE providing information for each one of your vaults / entities before we begin checking in your data and reviewing it for completeness.
Q: What do I do if the emailed activation code arrives in my inbox after the 10 minutes are up, and it has expired?
A: This is an email service provider issue, and one we have no control over. Check your updates or junk mail folders if you requested the code via email and don't see it in your inbox. Click "Resend Verification Code" to try again. The workaround is to ask us to invite you to SmartVault with an alternate email address (gmail works well), then once you've activated your account, you can change the email address back to your preferred address in your settings. If you have laggy email, it's very important to right away adjust your settings to send the two-factor authentication codes to a phone via text or call instead. Here are the instructions to do so. (Ensure your phone number is present and verified in My Info in settings.)
???: What's your SmartVault question? Email us at info@thebusinessguides.com or use our website contact form. Better yet, get one-on-one support at Virtual Office Hours this tax season.


Connect With Us

![]()
© 2026 The Business Guides All Rights Reserved.
Web Builder CS: Websites for Accountants